Connection Methods and Usage
This document provides details on how to connect to and use the ec2-sandbox after setting it up as a remote development environment. First, please purchase the ec2-sandbox on AWS MarketPlace
Using VSCode
This section describes how to connect using VSCode (Visual Studio Code), the most commonly used editor for Node.js and Python development.
1. Creating and Editing SSH Configuration File
Follow these steps to check and edit your SSH connection configuration file (~/.ssh/config):
- If there's no
.ssh/configfile in your home directory, create one beforehand - Launch VSCode, go to [ File ] → [ Open File... ]
- Select [ Home ] on the left side → Select
.sshfolder → Select and open theconfigfile
Once opened, add the following configuration:
- Public Subnet Configuration
- Private Subnet Configuration
# Note: EC2 instances change their IP address each time they start unless using Elastic IP.
Host ec2-sandbox-x86_64-{region}-{alias} # Name displayed as option (any value is OK)
  HostName xxx.xxx.xxx.xxx               # Specify the public IP of ec2-sandbox instance
  IdentityFile ~/.ssh/{private_key_file} # Private key from key pair creation
  User ec2-user                          # Amazon Linux 2023 default username

# ...
Host ec2-sandbox-x86_64-{region}-{alias} # Name displayed as option (any value is OK)
  HostName i-xxxxxxxxxxxxx               # Specify the  ec2-sandbox instance ID
  IdentityFile ~/.ssh/{private_key_file} # Private key from key pair creation
  User ec2-user                          # Amazon Linux 2023 default username

  # Use ProxyCommand to communicate through Session Manager
  ProxyCommand sh -c "aws ssm start-session --profile {aws_profile_name} --region {aws_region} --target %h --document-name AWS-StartSSHSession --parameters 'portNumber=%p'"

  # For {aws_profile_name}, specify the AWS credential profile name configured with AWS CLI's "aws configure".
  # Alternatively, you can directly write to ~/.aws/credentials.

  # [your_aws_profile_name]
  # aws_access_key_id=xxx
  # aws_secret_access_key=xxx
  #
  # Note: If you obtained temporary credentials from AWS STS or IAM Identity Center, you'll also need the "aws_session_token" field.
# ...
【Private Subnet Configuration Only】 Installing Session Manager Plugin and Starting Session
For private subnet configurations, install the AWS CLI and Session Manager plugin to enable the proxyCommand specified in the SSH configuration file.
- AWS CLI
- Session Manager Plugin
After installing the plugin, open a terminal and start a session as shown below before launching VSCode and starting the SSH connection.
- Windows (Command Prompt)
- Mac (zsh)
aws ssm start-session ^
  --region {AWS_REGION} ^
  --target i-xxx ^
  --document-name AWS-StartSSHSession
aws ssm start-session \
  --region {AWS_REGION} \
  --target i-xxx \
  --document-name AWS-StartSSHSession
2. Installing Remote SSH Extension
Open the VSCode command palette and install the extension following these steps:
- Windows
- Mac
Ctrl + Shift + P
Command + Shift + P
- The command palette opens with the above shortcut, type and select
"Install Extensions" - Type
"Remote - SSH", select the Microsoft [ Remote - SSH ] extension, and press theInstallbutton - After completion, select
"Reload Window"from the command palette to reload the screen
3. Remote Connection
After installing the extension and reloading, open the command palette again and follow these steps to connect:
- Type and select
"Remote-SSH: Connect To Host" - Select the Host entry registered in "1. Creating and Editing SSH Configuration File"
- A new window opens and the connection is complete
4. Usage
If a new window launches without errors in "3. Remote Connection", the setup is complete. If you're using the slsops-ec2-sandbox AMI, follow these steps to verify usage:
- Select the [ Explorer ] icon in the right sidebar
- Select [ Open Folder ], choose the
_samplefolder, and press the [ OK ] button - From the VSCode menu, select [ Terminal ] → [ New Terminal ]
- Execute
cd hello-api && node index.js
Finally, verify the operation:
- Public Subnet Configuration
- Private Subnet Configuration
- Open
http://{ec2-sandbox-public-ip}:3000/in your browser
{ "message": "Setup is complete. Good work!" }
- Open
http://localhost:3000/in your browser
{ "message": "Setup is complete. Good work!" }
From here on, you can freely create and edit files, run programs using the terminal, and use it as a development machine. You can also use AWS CLI operations through instance roles without specifying separate AWS credentials.
5. Installed Components
You can verify the following installations:
# AWS CLI
aws --version # aws-cli/2.25.0 Python/3.9.23 Linux/6.1.141-155.222.amzn2023.x86_64 source/x86_64.amzn.2023
q --version   # v1.12.2(Amazon Q Developer)
sudo systemctl status amazon-ssm-agent        # loaded (/etc/systemd/system/amazon-ssm-agent.service; enabled; preset: enabled)
sudo systemctl status amazon-cloudwatch-agent # loaded (/etc/systemd/system/amazon-cloudwatch-agent.service; disabled; preset: disabled)

# Node.js
nodenv --version # nodenv 1.5.0+51.8948584
node -v          # v22.14.0
npm -v           # 10.9.2

# Python
pyenv --version  # pyenv 2.5.4-3-g67f474d3
python --version # Python 3.13.2
pip --version    # pip 25.1.1 from /home/ec2-user/.pyenv/versions/3.13.2/lib/python3.13/site-packages/pip (python 3.13)
poetry --version # Poetry (version 2.1.3)

# Terraform
tenv --version      # version v4.7.6
terraform --version # Terraform v1.12.2

# Java
java --version
# openjdk 24.0.1 2025-04-15
# OpenJDK Runtime Environment Corretto-24.0.1.9.1 (build 24.0.1+9-FR)
# OpenJDK 64-Bit Server VM Corretto-24.0.1.9.1 (build 24.0.1+9-FR, mixed mode, sharing)

# Docker
docker --version       # Docker version 25.0.8, build 0bab007
docker compose version # Docker Compose version v2.17.0

# TigerVNC
sudo systemctl status vncserver@:1 # loaded (/usr/lib/systemd/system/vncserver@.service; enabled; preset: disabled)
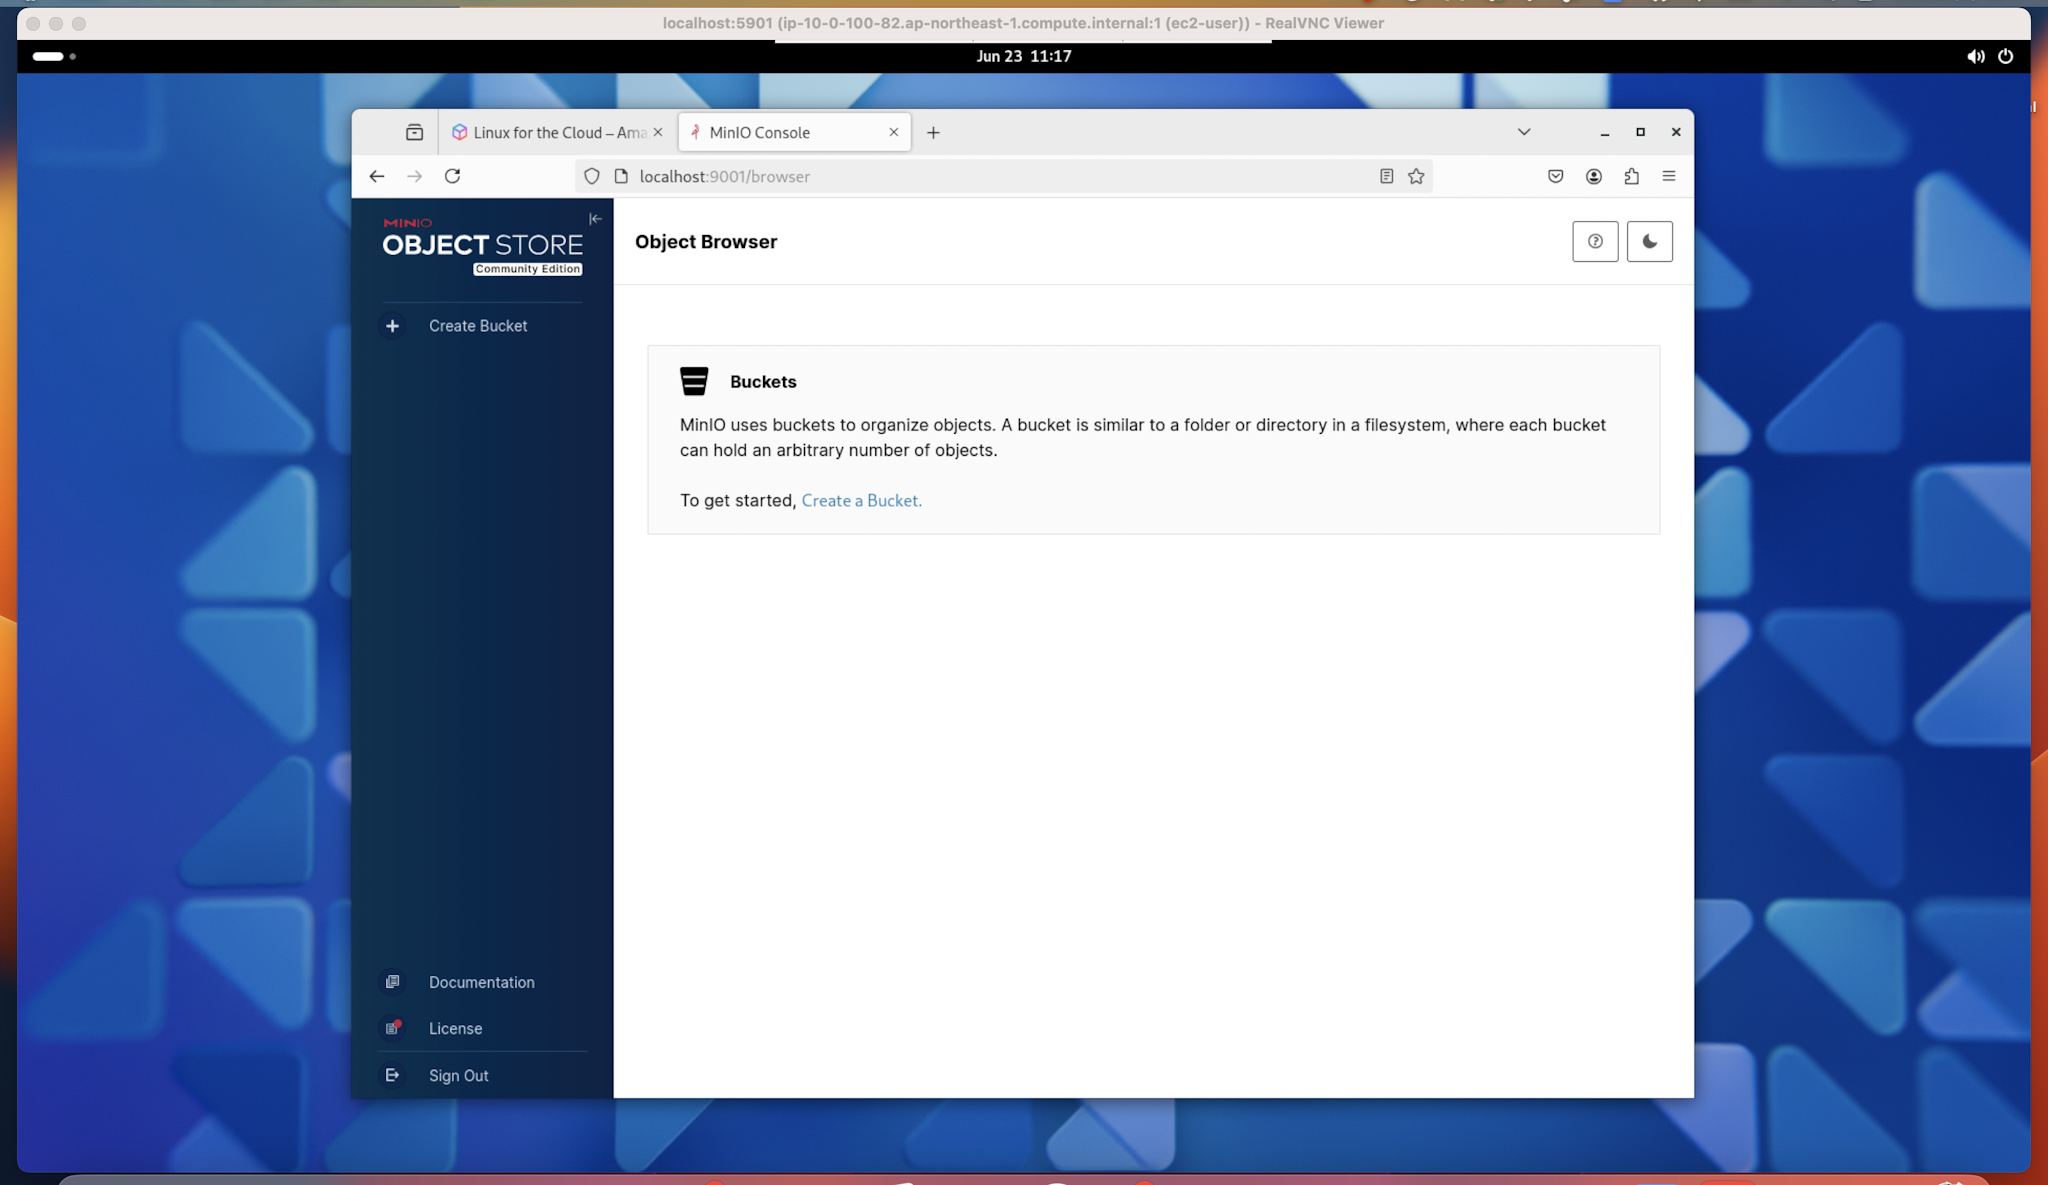
6. How to use a Desktop Environment
The ec2-sandbox comes preinstalled with a desktop environment. This is particularly useful for certain applications that require launching a local server on localhost and accessing it through a browser during development.
A TigerVNC server is installed to allow remote access to the desktop environment from your local machine. The initial password for accessing the server is set to slsops1234. Before use, please change the password to your own by executing the following command. You will be prompted to set a new password interactively.
vncpasswd
If the ec2-sandbox instance is located in a private subnet, you will need to establish a port forwarding session using AWS Systems Manager (ssm) before connecting.
aws ssm start-session \
 --profile <your-AWS-profile> \
 --region ap-northeast-1 \
 --target <instance-id> \
 --document-name AWS-StartPortForwardingSession \
 --parameters portNumber="5901",localPortNumber="5901"
After setting up port forwarding, install a VNC client such as TigerVNC or RealVNC on your local machine to connect to the desktop environment on your ec2-sandbox instance.